
2-Post Assembly Instructions (4inch x 4inch PVC posts)
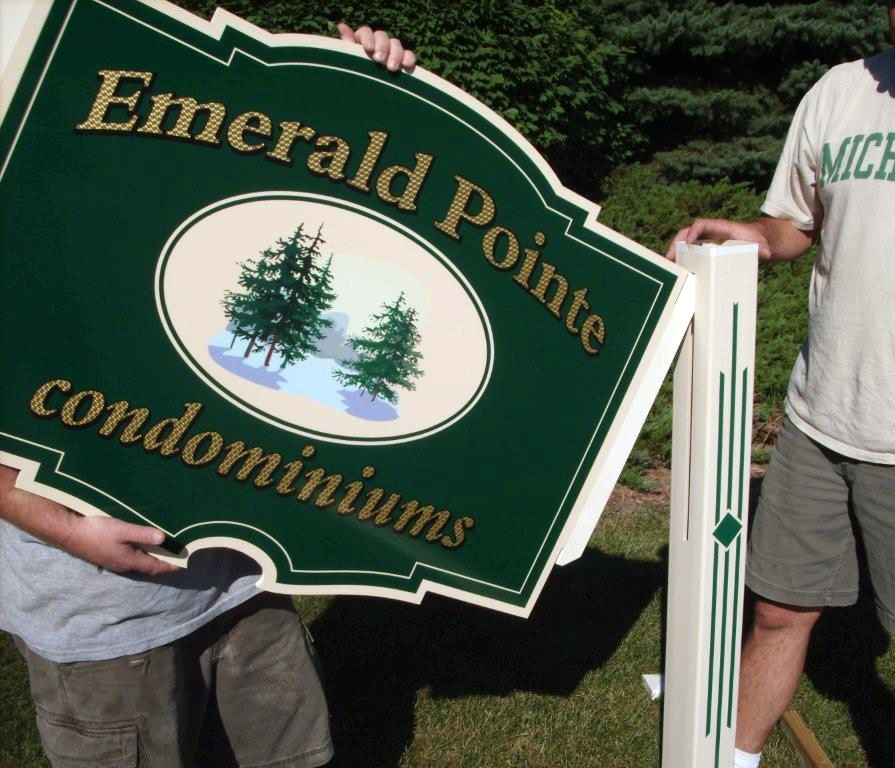
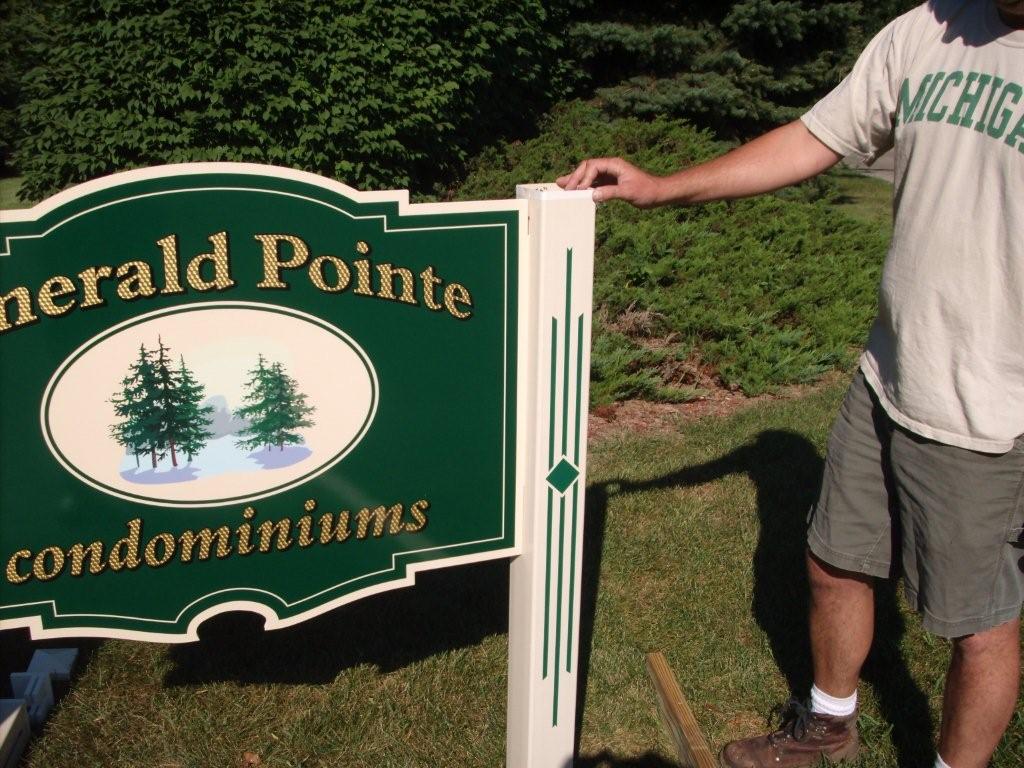
Step 1
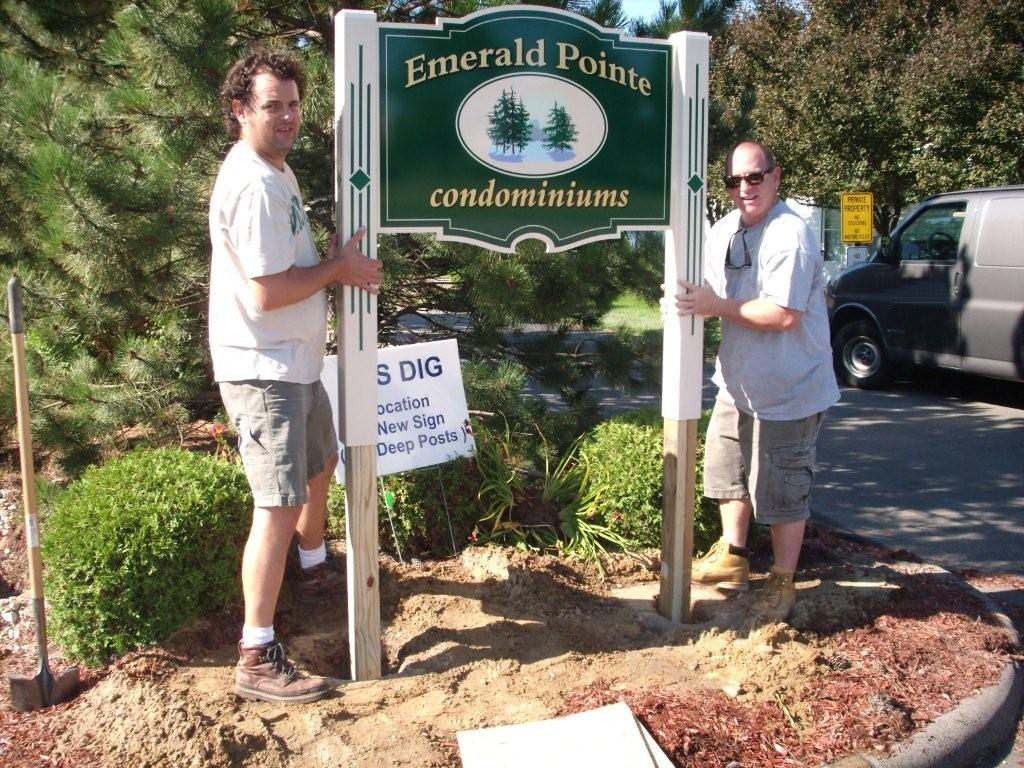
Lay sign components on ground as shown, assemble treated wood lumber support posts (not supplied -see below).

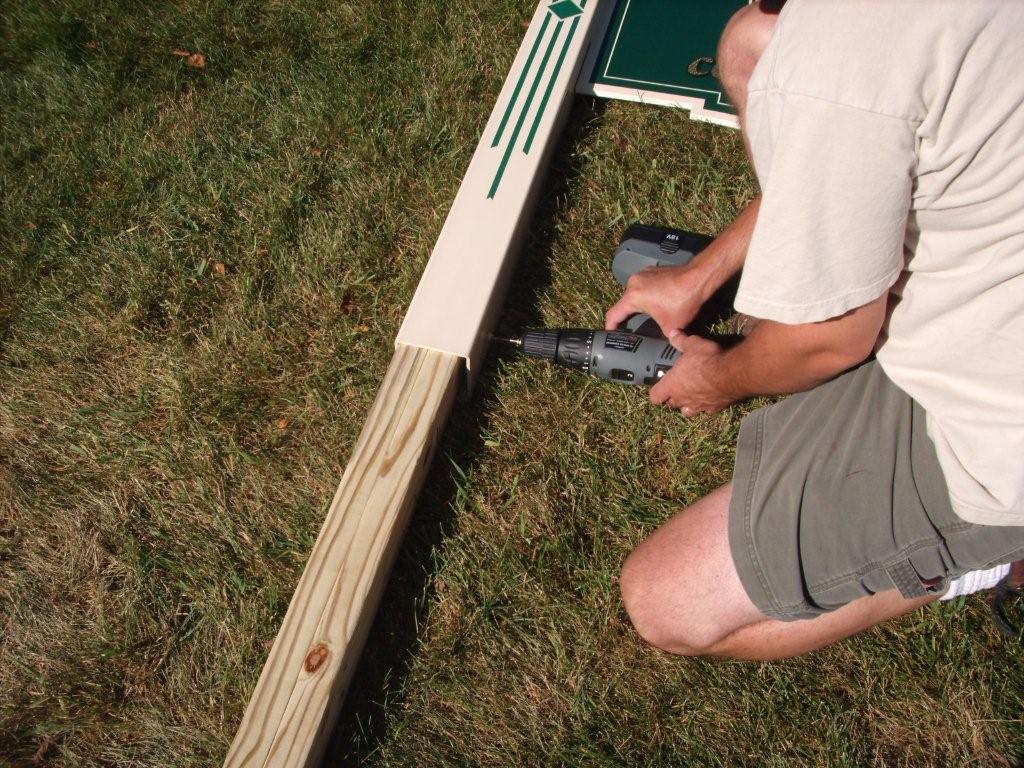
Option A
Purchase four treated wood 2×4’s from your local lumber yard. These will be buried in the ground (below frost line in your area) and extend up into the hollow PVC post sleeves. Screw them together as shown in photo #1. The inside 2×4 should only come up to within 2″ below the bottom of the sign “tab” inside your PVC post sleeve (the sign “tab” should not be resting on top of the inside 2×4). The outside 2×4 length should be cut to end up about 8″ below the top of the PVC post sleeve.
Option B
You could also use two 4×4’s instead of four 2×4’s in this step. The height of your 4×4 sticking out of the ground will need to be trimmed to go up into your sign post and end about an inch below the bottom part of your sign “tab”.
Step 2
Insert sign “tabs” into pre-cut channels in top of posts (both sides).
Step 3
Insert special “clips” as shown down into both post tops.

Step 4
Screw top of clip down to top of sign “tab” on inside of posts.

Step 5
Lay sign down and slide your pre-cut treated wood posts up into bottom of sign posts.

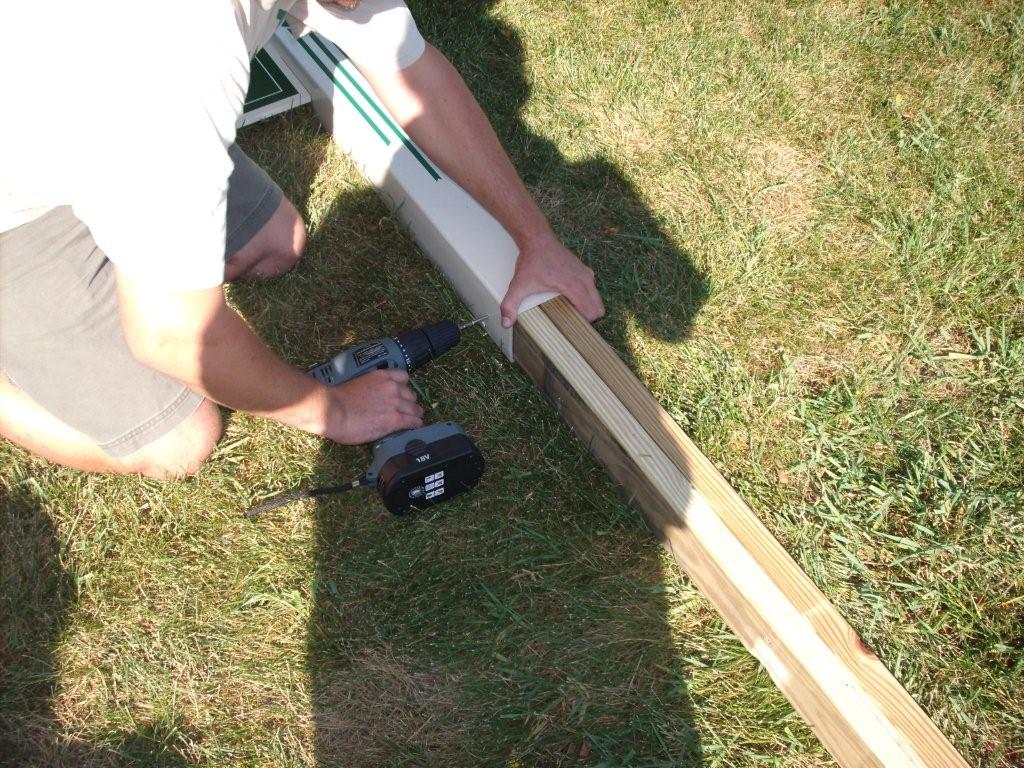
Step 6
Pre-drill holes on inside of sign posts near bottom. Insert stainless steel screws.
Step 7
Dig your 2 holes spaced accordingly for your post bottoms.

Step 8
Pick up entire sign and carefully lower into holes. Check for level and straighten accordingly.
For larger sized signs, you may choose to add “post-hole” concrete to your holes prior to backfilling with the dirt. (“Post Hole concrete” does not need to be premixed, you can just pour into your hole straight from the bag and then pour water on top of it, it will harden up on its own then.)

Step 9
Backfill your holes. Install post caps and your sign is complete!

Step 10
If you purchased an optional sign “rider” for your sign, they get installed after your sign is completely assembled (see steps 1-9 above). There are aluminum angle brackets (included) that get screwed to the side posts (under your main sign), your sign then attaches to the brackets using the screws provided. You will need to predrill some holes here. A 1 sided sign rider will have 1 bracket per side. A 2-sided sign rider will have 2 brackets per side. See pics below.
