Hanging Hardware Installation
A set of our hanging hardware includes 2 stainless pad eyes, 4 stainless screws and 2 lengths of stainless steel jack chain.
Step 1
Measure the top of your sign for the location of the “pad eyes” you will be attaching. They should be placed about the same distance as the hanging points on the bracket/post above it.

Step 2
Hold and center the pad eye over the mark you made in step #1. Then mark where your 2 holes will be pre-drilled.

Step 3
Using a drill bit half the size of your screw, predrill your 2 holes for each pad eye.
IMPORTANT: You must use a drill bit that is much smaller than the diameter of your screw. Your screw needs to have enough PVC material for the threads to “bite ” into.
(drill bit not included).

Step 4
Then simply attach the pad eyes to the top of your sign using the small screws provided.

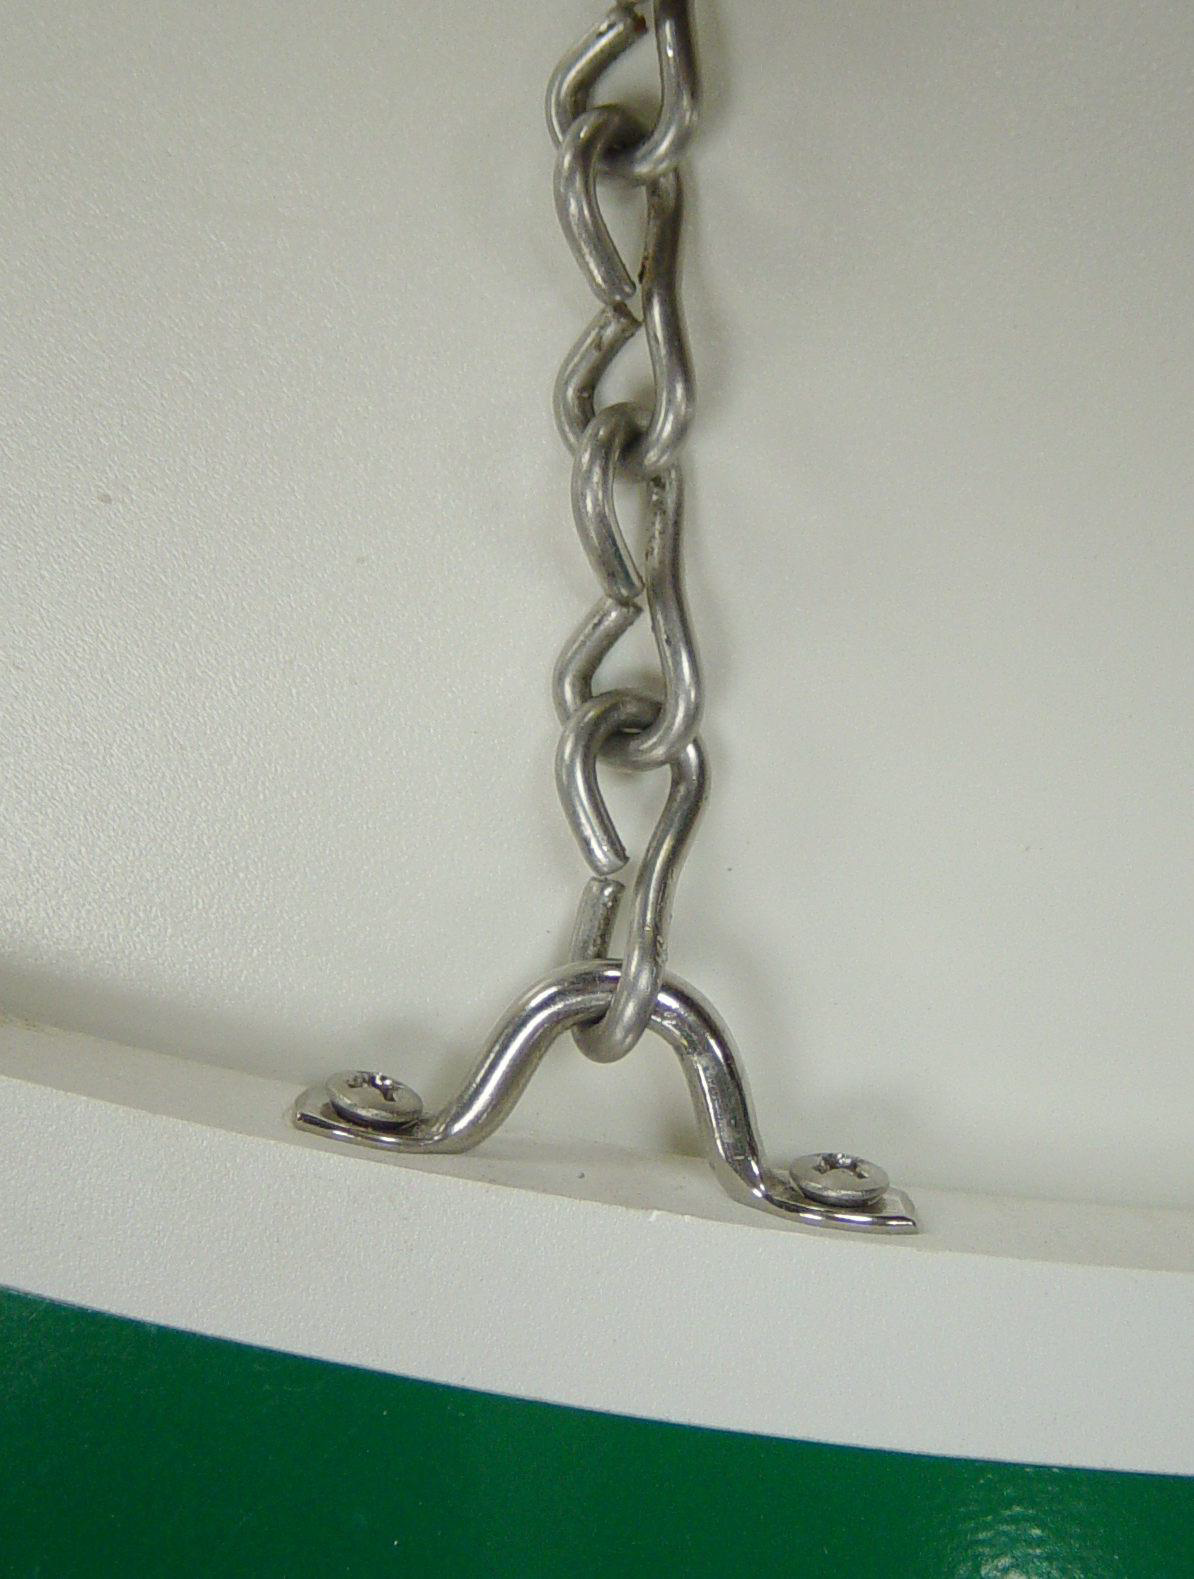
Step 5
The stainless steel jack chain links can be opened and closed with a pair of pliers. After you place the end link around the pad eye, then squeeze it closed.